Post Views: 1,484
Blockchain transform supply chain Industry- The world of supply chain and logistics is made of two important aspects – transparency and traceability. Blockchain creates a secure, robust and reliable business and communication channel and optimizes the existing business networks and transactions.
The blockchain is basically a shared ledger which gets validated and updated through each of the participants. Blockchains thus increase the equality in keeping the visibility of the activities that are performed on the platform and providing information about where an asset is. To revolutionize the supply-chain ecology, it needs a balance between blockchain’s complexity and supply-chains clarity.
What is blockchain and how does it help the supply chain process?
In the past decade, the process of the supply chain management system has become truly complex due to the emergence of new technologies and globalization of businesses. Today it is very difficult for buyers to know the exact cost involved for goods in the whole process of the supply chain, because of the lack of transparency of the existing system of managing supply chain process. It is very difficult to investigate a supply chain ecosystem due to some unethical practices in the system.
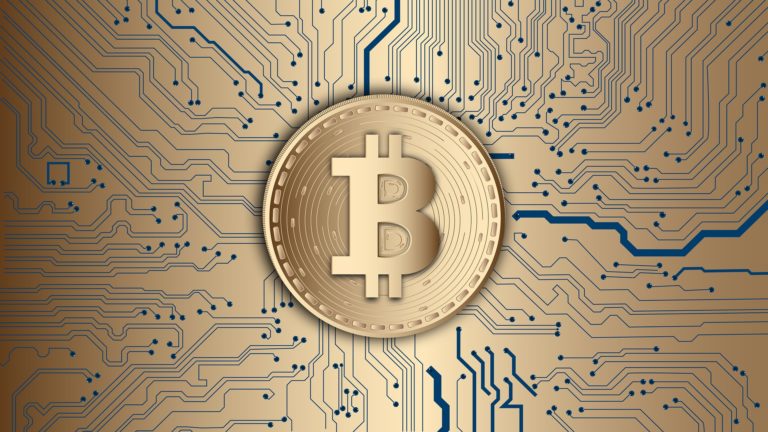
The blockchain is a distributed digital ledger which provides transparency and security in the industries it is being used. In popular beliefs, Bitcoins are the major use of this powerful technology, but blockchain has potential into it. Blockchains can be used for – exchanges, agreements, contracts, tracking and transactions related to payments.
Every blockchain transaction is recorded and the information is maintained in separate blocks each time with the timestamp. This information about the transaction has many copies which are kept throughout the distributed systems at the nodes. Therefore, blockchains provide transparency as the information is visible and accessible by all of the participants of the chain.
Each block of a blockchain refers to the other blocks that are placed before and after them. There is no central authority for update and changing of the information. During any change, all the participant can verify and validate it and approve the change request. For each change request, a new block is created and is placed in the sequence of other blocks. Therefore, the security of the blockchains is very high. Everyone can see and access the data contained in the blocks but no one can change it alone.
These features of blockchains make this technology a perfect choice for the supply chain management system. The transparency of the supply chain system will improve the trust of the buyers and sellers, remove any unethical practice, remove the need of any mediator in the system, provide information about the transactions, goods transportation exact status and many more. Ultimately, the business will get improved through the extremely efficient and highly scalable blockchain technology.
What are the benefits of using blockchain in the supply chain or logistics?
Blockchain provides the logistic companies a real-time digital ledger to keep track of the transactions and record and inform the movement of all the components and participants involved in the supply chain management system. Here are some benefits of using blockchains straight into the supply chain ecology –
Improved visibility in procurement
The negotiation of the procurement discounts happens based on the total volume and a total number of purchases someone have made. But for the companies, it is very difficult and costly to keep track of the procurement data due to its large volume and different way of selling the products, companies, vendors, subsidiaries and business partners through whom the business is being made.
Blockchains provides a solution for this situation to the supply chain companies through its constantly refreshed digital ledger. The company can always visualize the total volume of the purchases regardless of the parties involved in it. Moreover, it removes the necessity of submitting the purchase data from each and every employee end of the day and costly auditors to validate the data. It saves both time and money for the company.
Smart Contracts and Payment methods
The gap between the digitally generated invoice and manually chosen payment methods leverages a risk of non-payment in any business, especially in supply chain management. Though it is always mentioned in the contracts that payment must be cleared within 30 days of the service availed. But, customers chose their manual payment mode and enter the amount on the system manually as well.
Smart contracts induce the payment method and other necessities into the code of the blockchain system making it automated. Customers just have to approve the payments. This will lead to the highly reduced amount of non-payments.
Eliminate the bad component
In blockchains, every participant has one copy of the ledger. All the movements, activities and transactions involved in the system are part of the ledger which is refreshed continuously, including the copies. If any participant tries to tamper the data to game the system, that will tamper the data of only the copy of the ledger he has. Without the approval of other participants, it won’t affect the whole ledger. Therefore, when the other participants do not approve the changes, his copy of the ledger becomes out of sync immediately. This helps to remove the rogues from the system, which is necessary for supply chain or logistics.
Better visibility through analytics using block data
In supply chain management, it is necessary to have the insight of how much material is in a certain place, the order is placed for how much material, what is the actual demand and what is going to become garbage soon. This computation and information maintenance is costly for bigger companies.
Blockchains provide the power to the companies to micromanage and get insights into everything at the ecosystem level and that too any point of time. It pays off with an accuracy of data, better insights, reduced need for maintaining costly inventory and better business decisions.
Easy plugging into the existing system
The main benefit of the blockchain technology is, it can be easily integrated into the existing supply management systems. Therefore, costly and time taking the process of removal of the old process and implement and adapt to the new one is not necessary.
The supply chain ecosystem cannot be transformed overnight. But, through the hands of blockchain technology, it can improve the business and customer experience significantly. What do you think?