
Introduction:
In any growing organization, approvals play a critical role in maintaining process integrity, whether it’s for sales orders, purchase requests, or customer-specific terms. However, manual approval handling in Dynamics 365 Business Central can be time-consuming and prone to delays.
This blog walks you through a fully automated customer approval process using Power Automate connected to Business Central, designed to streamline workflows, notify stakeholders, and ensure auditability at every step.
Scenario: Customer Approval Flow
Let’s consider a use case where a sales order or customer record in Business Central requires approval before proceeding. The process includes:
- Detecting the approval request in Business Central.
- Fetching relevant data and approver details.
- Sending approval requests.
- Processing the outcome (Approved, Rejected, Cancelled).
- Sending conditional email notifications.
Part 1: Initiation and Preparation
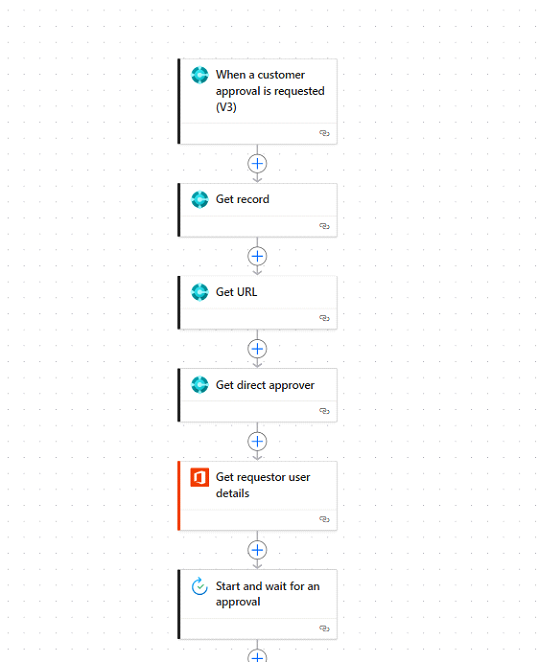
Step-by-Step Breakdown of the Flow
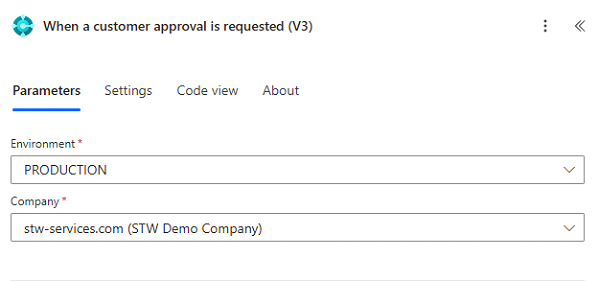
1. Trigger – When a Customer Approval is Requested (V3)
This Power Automate flow is triggered when a new customer approval request is initiated in Business Central via the “Workflows” module or a custom approval setup.
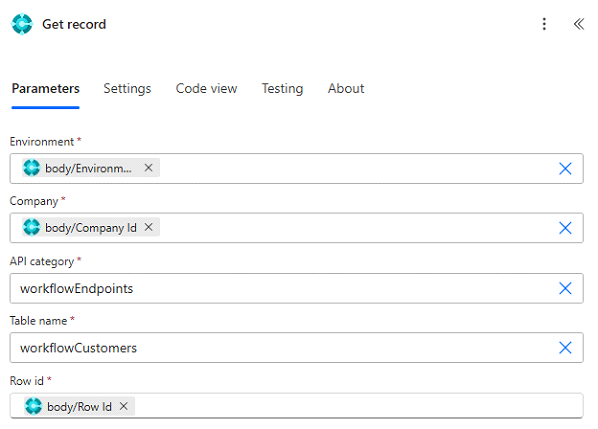
2. Get Record
The flow fetches detailed information about the customer or transaction from Business Central using the “Get record” action.
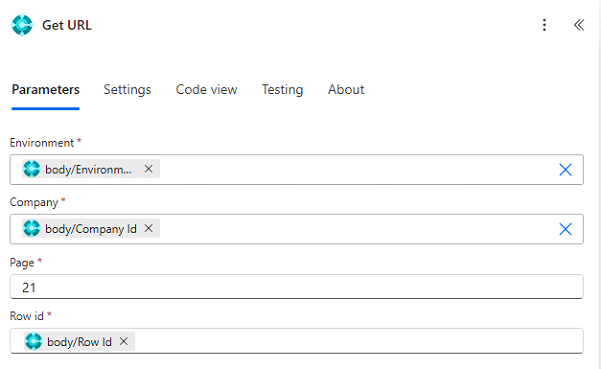
3. Get URL
This step constructs or retrieves a direct URL to the Business Central record so the approver can quickly access the relevant data for decision-making.
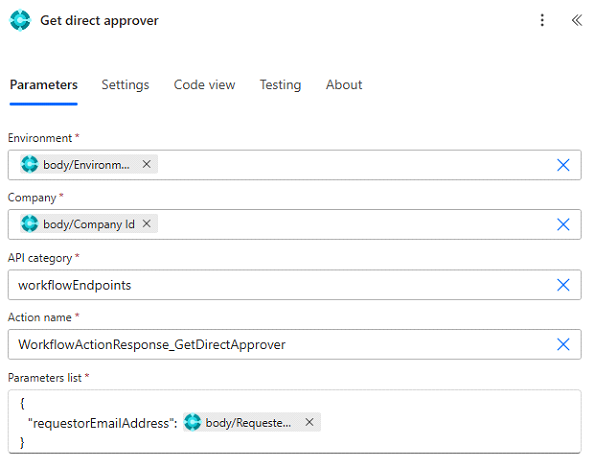
4. Get Direct Approver
The flow determines who the direct approver is—based on the requestor’s department, role, or custom logic. This step ensures the approval is routed correctly.
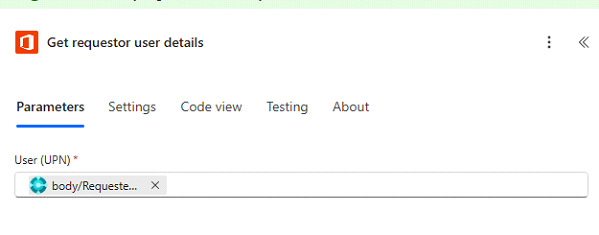
5. Get Requestor User Details
Using Office 365 Users, we retrieve the user profile of the original requestor for personalization and notifications.
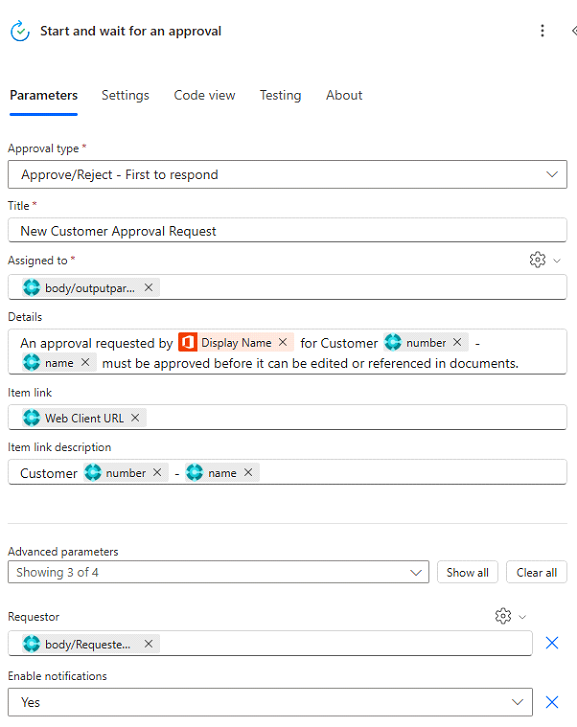
6. Start and Wait for an Approval
This is the core approval action. A request is sent with key information, and the flow pauses until the approver responds.
Part 2: Handling Approval Responses

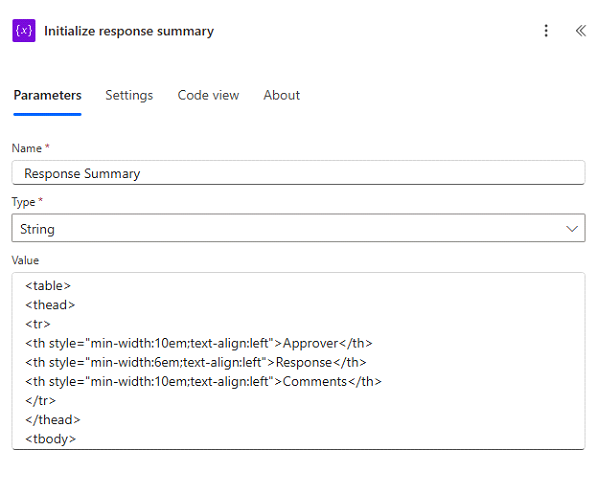
7. Initialize and Format Response Summary
The flow initializes a variable to hold a response summary. It then iterates through responses (if multiple approvers are involved), formats them, and stores a summary for recordkeeping or reporting.
Part 3: Reacting to the Outcome
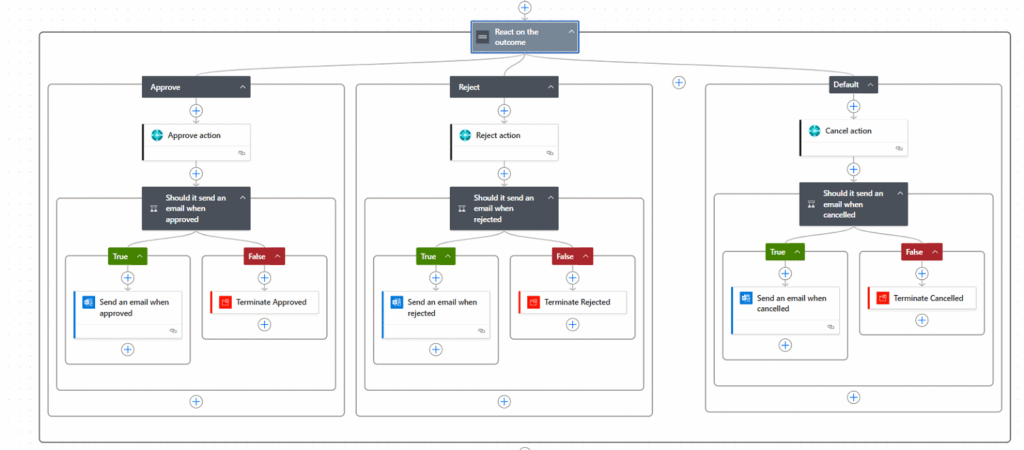
Using a Switch-like structure, the flow branches into three sections:
Approved
Approve Action: Marks the approval as successful.

Conditional Email: If configured, an email is sent to notify relevant parties of the approval. If not, the flow terminates cleanly.
Rejected
Reject Action: Marks the approval as rejected.
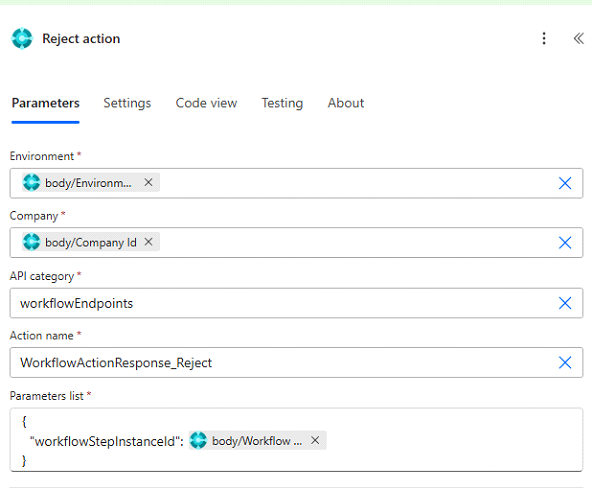
Conditional Email: Optionally sends an email stating that the request was denied.
Cancelled (Default Path)
Cancel Action: Treats any fallback or unhandled scenario as a cancellation.
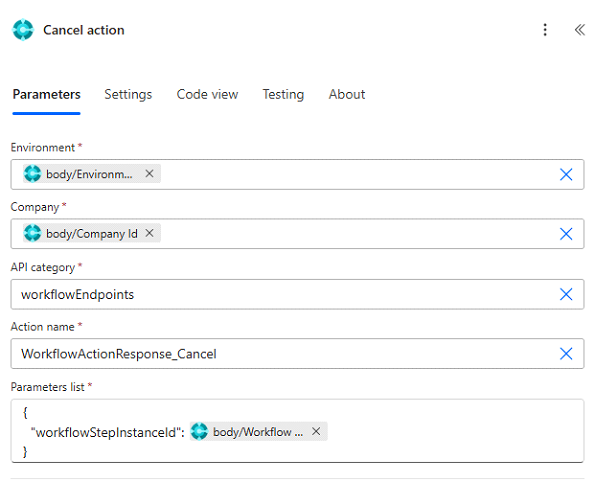
Conditional Email: Sends a cancellation notice if needed.
Each path ends in a Terminate action to gracefully end the flow, ensuring no unintended actions proceed after final decision handling.
Conclusion
Automating customer approval workflows with Power Automate not only streamlines internal processes but also enhances transparency, accountability, and speed of execution. This solution ensures that every approval request is handled consistently, routed to the right person, and tracked properly — with minimal manual intervention.
By integrating Dataverse, Outlook, and Microsoft 365 services, you can build an end-to-end approval system that adapts to your business needs. Whether it’s sending conditional notifications or handling various approval outcomes smartly, this flow empowers organizations to operate more efficiently and make faster, data-driven decisions.